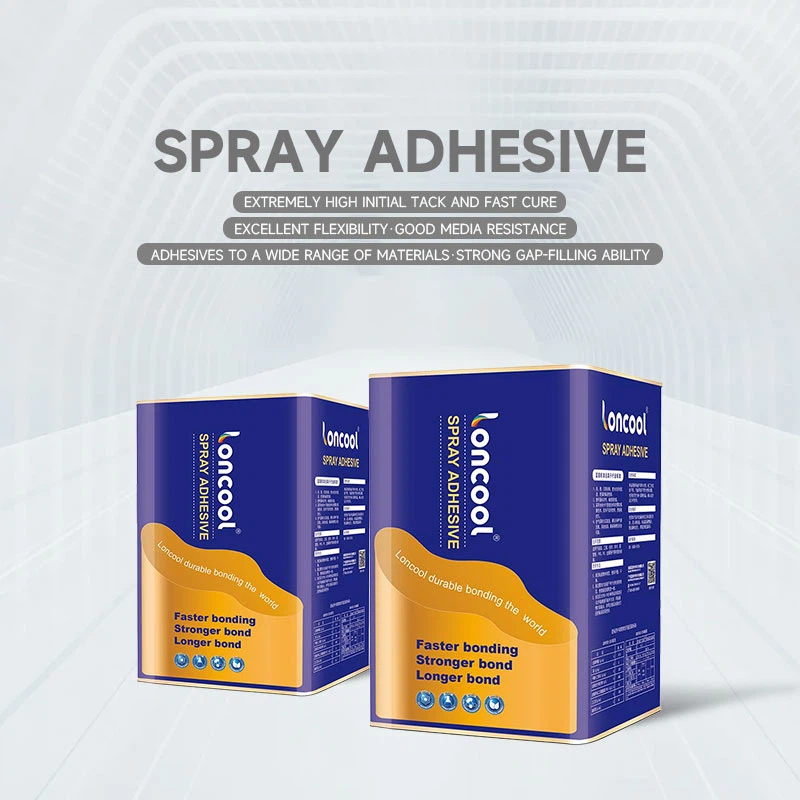
Hey there! As a supplier of MS Silicone Sealant, I often get asked if this type of sealant requires special tools for application. Well, let's dive right into it and find out.
First off, let's talk a bit about what MS Silicone Sealant is. MS Silicone Sealant, you can learn more about it here, is a high - performance sealant that combines the best features of silicone and polyurethane. It's based on MS Polymer, which gives it excellent adhesion, flexibility, and weather resistance.
Now, when it comes to applying MS Silicone Sealant, the good news is that in most cases, you don't necessarily need a bunch of special tools. The basic tools you'll need are quite common and you might even have them around your house.


The most essential tool for applying MS Silicone Sealant is a caulking gun. A caulking gun is a simple yet effective device that allows you to control the flow of the sealant. You can find caulking guns at any hardware store, and they come in different types - manual and pneumatic. Manual caulking guns are the most common and are great for small - to medium - sized jobs. They're easy to use; you just load the sealant cartridge into the gun, pull the trigger, and the sealant comes out. Pneumatic caulking guns, on the other hand, are powered by compressed air. They're more suitable for large - scale projects as they can deliver a continuous and consistent flow of sealant.
Another tool that's very useful is a putty knife or a sealant smoothing tool. After you've applied the sealant, you'll want to smooth it out to give it a nice, professional finish. A putty knife can be used to spread and shape the sealant, while a dedicated sealant smoothing tool is designed specifically for this purpose. It helps to create a clean, even bead of sealant and removes any excess.
You'll also need something to clean the surface before applying the sealant. A clean surface is crucial for good adhesion. You can use a mild detergent and water to clean the area, and then dry it thoroughly. A lint - free cloth or paper towels work well for drying.
In some cases, depending on the job, you might need a utility knife. If you're working with a sealant cartridge that has a nozzle, you'll need to cut the nozzle at the right angle to get the desired bead size. A utility knife allows you to make a clean, precise cut.
Now, are there any special tools for specific applications? Well, sometimes. For example, if you're applying MS Silicone Sealant in a very narrow or hard - to - reach area, you might need a specialized nozzle or an extension tube for your caulking gun. These can help you get the sealant exactly where you need it.
If you're working on a vertical surface, you might find a sealant backing rod useful. A backing rod is a flexible tube that you insert into the joint before applying the sealant. It helps to control the depth of the sealant and provides support, especially on vertical joints where the sealant might otherwise sag.
Also, if you're applying the sealant in an environment where there's a lot of dust or debris, you might want to use a mask and safety goggles. Safety should always be a priority when working with any type of sealant.
Let's talk about the application process a bit more. Before you start, make sure you read the manufacturer's instructions on the sealant cartridge. Different MS Silicone Sealants might have slightly different application requirements.
Once you've prepared the surface, load the sealant cartridge into the caulking gun. Cut the nozzle of the cartridge at the appropriate angle and size. Start applying the sealant in a steady, continuous motion. Try to keep the speed and pressure consistent to get an even bead.
After you've applied the sealant, use your putty knife or smoothing tool to shape and smooth it out. Work quickly as the sealant starts to set after a certain period.
One thing to note is that MS Silicone Sealant usually has a relatively long open time, which means you have more time to work with it compared to some other types of sealants. But still, don't take too long or it'll start to harden.
Now, let's sum it up. While you don't need a whole bunch of special tools to apply MS Silicone Sealant, having the right basic tools is essential for a successful job. And in some specific situations, a few specialized tools can make the process a lot easier.
If you're in the market for high - quality MS Silicone Sealant, look no further. As a supplier, I can offer you a wide range of products that meet different needs and specifications. Whether you're a DIY enthusiast working on a home project or a professional contractor, we've got you covered.
If you're interested in learning more about our MS Silicone Sealant products or have any questions about application, don't hesitate to reach out. We're here to help you make the right choice and ensure your project turns out great.
References:
- Manufacturer's guides for MS Silicone Sealant products
- Industry standards and best practices for sealant application