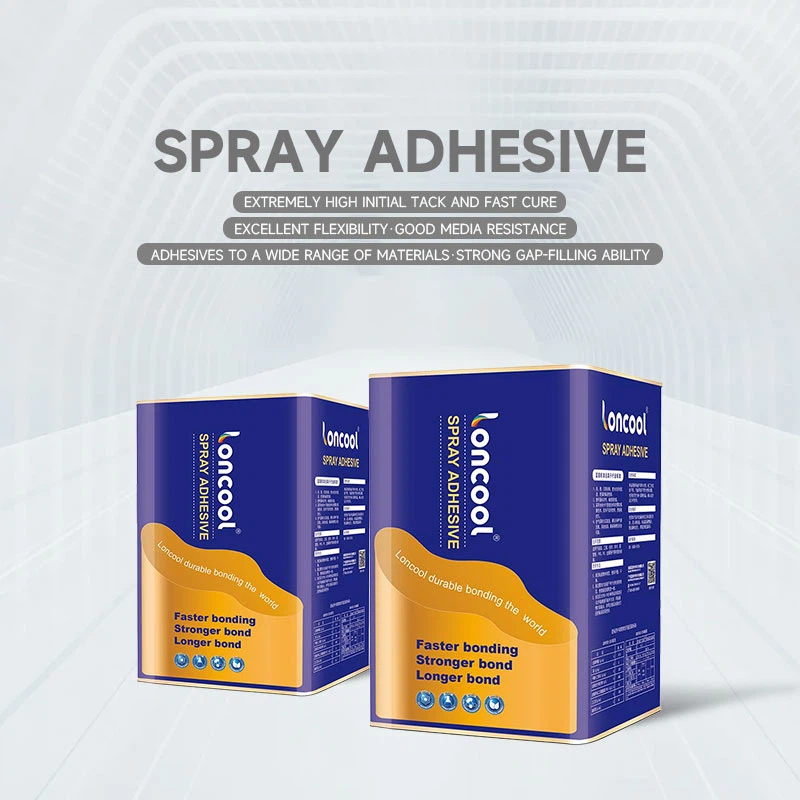
When it comes to construction and DIY projects, finding the right adhesive is crucial for ensuring a strong and long - lasting bond. Liquid Nails Construction is one such adhesive that has gained popularity among professionals and hobbyists alike. As a supplier of Liquid Nails Construction, I often get asked about the best time to reposition parts bonded with this product. In this blog post, I'll delve into the science behind it and provide you with some practical tips.
Understanding Liquid Nails Construction
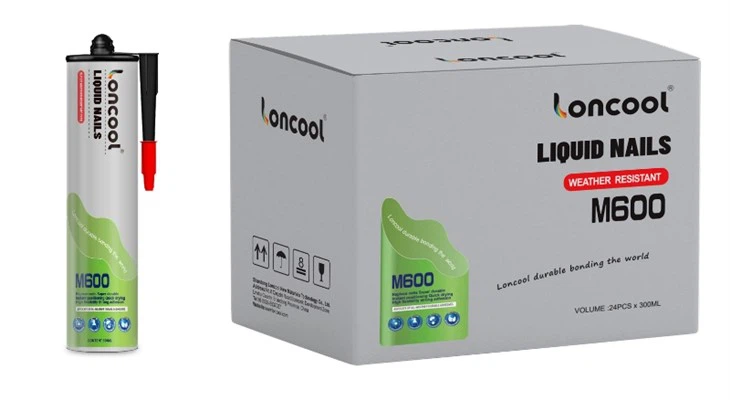
Liquid Nails Construction is a high - performance adhesive designed for a wide range of construction applications. It can bond various materials such as wood, metal, concrete, and drywall. The adhesive forms a strong, permanent bond that can withstand heavy loads and environmental stress. You can learn more about it on our Liquid Nails Construction page.
The curing process of Liquid Nails Construction is a chemical reaction that occurs when the adhesive comes into contact with air and moisture. As the adhesive cures, it hardens and forms a bond between the two surfaces. The rate of curing depends on several factors, including temperature, humidity, and the type of materials being bonded.
Factors Affecting Repositioning Time
Temperature
Temperature plays a significant role in the curing time of Liquid Nails Construction. In general, higher temperatures accelerate the curing process, while lower temperatures slow it down. At room temperature (around 20 - 25°C or 68 - 77°F), the adhesive starts to set within 15 - 30 minutes and reaches full cure in about 24 hours.

If you're working in a warmer environment, say 30°C (86°F), the adhesive will set much faster. You might only have 5 - 10 minutes to reposition the parts before the bond becomes too strong. On the other hand, in a cooler environment, like 10°C (50°F), you could have up to an hour or more to make adjustments.
Humidity
Humidity also affects the curing process. Higher humidity levels can speed up the curing of Liquid Nails Construction because the adhesive reacts with moisture in the air. In a humid environment (above 70% relative humidity), the adhesive may set in as little as 10 - 15 minutes. In a dry environment (below 30% relative humidity), the curing process will be slower, giving you more time to reposition the parts.
Material Porosity
The porosity of the materials being bonded can influence the repositioning time. Porous materials, such as wood and drywall, absorb the adhesive, which can speed up the curing process. Non - porous materials, like metal and plastic, do not absorb the adhesive as readily, giving you more time to make adjustments.
The Best Time to Reposition Parts
Based on the factors mentioned above, the best time to reposition parts bonded with Liquid Nails Construction is within the first 15 - 30 minutes after application, under normal room temperature and humidity conditions. During this time, the adhesive is still in a semi - liquid state, allowing you to move the parts into the correct position.
However, it's important to note that this is just a general guideline. You should always test a small area first to determine the actual repositioning time for your specific project. Here are some steps to follow:
- Prepare the surfaces: Make sure the surfaces to be bonded are clean, dry, and free of dust, grease, and other contaminants. This will ensure a strong bond and accurate repositioning.
- Apply the adhesive: Apply a continuous bead of Liquid Nails Construction along one of the surfaces. Use a caulking gun for precise application.
- Join the parts: Press the two surfaces together firmly, applying even pressure across the entire bonding area.
- Check the repositioning time: Start checking the bond after a few minutes. Try to move the parts slightly. If they move easily, you still have time to reposition. If they resist movement, the adhesive is starting to set.
Tips for Successful Repositioning
- Use a putty knife or scraper: If you need to separate the parts after the adhesive has started to set, use a putty knife or scraper to gently pry them apart. Be careful not to damage the surfaces.
- Clean up excess adhesive: Wipe away any excess adhesive with a damp cloth before it dries. Once the adhesive has cured, it can be difficult to remove.
- Consider using a primer: For some materials, using a primer can improve the bond strength and also give you more control over the repositioning time. Check the product instructions for compatibility.
Comparing with Other Adhesives
In the market, there are other adhesives similar to Liquid Nails Construction, such as Liquid Nails Heavy Duty and No More Nails.
Liquid Nails Heavy Duty is designed for even more demanding applications, with a stronger bond and a faster curing time. It may give you less time to reposition parts compared to Liquid Nails Construction. No More Nails is another popular adhesive, but its repositioning time can vary depending on the formulation and the materials being bonded.
Conclusion
Determining the best time to reposition parts bonded with Liquid Nails Construction requires an understanding of the factors that affect the curing process, such as temperature, humidity, and material porosity. By following the guidelines provided in this blog post and conducting a small test, you can ensure a successful bonding and repositioning process for your construction or DIY project.
If you're interested in purchasing Liquid Nails Construction or have any questions about our products, we're here to help. Contact us to start a procurement discussion and find the best adhesive solutions for your needs.
References
- Manufacturer's instructions for Liquid Nails Construction
- Construction adhesive industry research reports
- DIY and construction project case studies