Hey there! As a spray adhesive supplier, I've seen firsthand how tricky it can be to work with curved surfaces. But don't worry, I'm here to share some tips and tricks on how to use spray adhesive effectively on those tricky curves.
Understanding Spray Adhesive
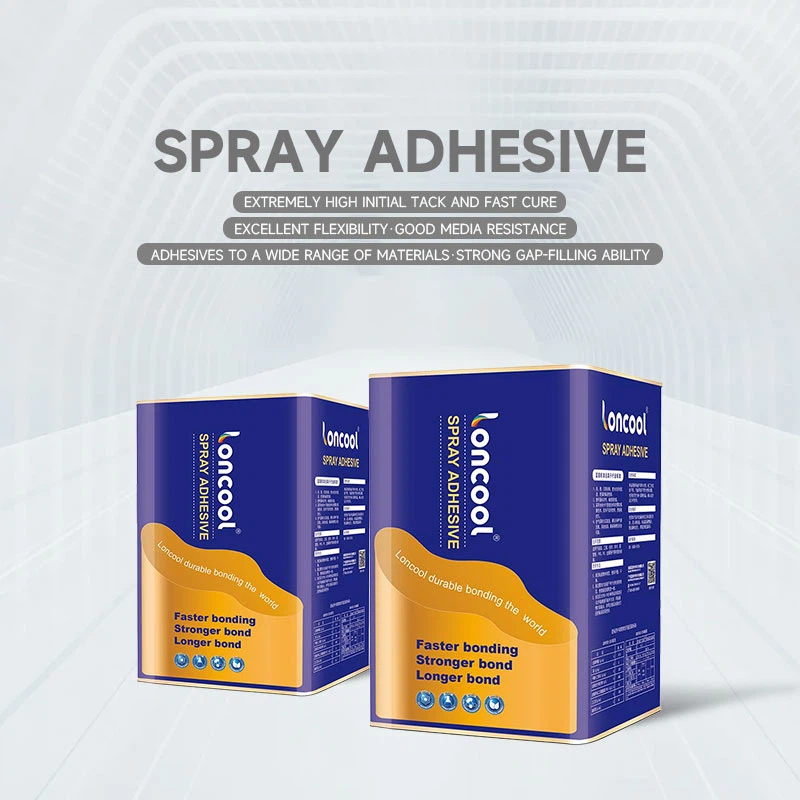
First things first, let's talk a bit about spray adhesive. It's a super convenient way to bond materials together. Unlike traditional glues that you apply with a brush or a tube, spray adhesive covers a wide area quickly and evenly. It comes in different types, like permanent, re - positionable, and high - strength, so you can choose the one that suits your project best.
Preparing the Curved Surface
Before you start spraying, you need to prep the curved surface properly. This step is crucial because a clean and smooth surface will ensure a better bond.
- Clean the surface: Use a mild detergent and a soft cloth to wipe away any dirt, dust, or grease. Let it dry completely. You don't want any contaminants getting in the way of a strong adhesive bond.
- Sand the surface (if necessary): For some materials, like plastics or smooth metals, a little bit of sanding can help the adhesive stick better. Just use fine - grit sandpaper and gently rub the surface to create a bit of texture.
Choosing the Right Spray Adhesive
Not all spray adhesives are created equal, especially when it comes to curved surfaces.
- Flexibility: Look for an adhesive that offers flexibility. Since curved surfaces bend, the adhesive needs to be able to move with them without cracking or peeling.
- Coverage and strength: Consider the type of materials you're bonding. If you're working with heavy - duty materials, you'll need a high - strength adhesive. For lighter materials, a regular - strength one might do the trick. And make sure the adhesive has good coverage so that it can evenly coat the curved surface.
Setting Up Your Workspace
A good workspace is key to a successful project.
- Ventilation: Spray adhesives can emit fumes, so make sure you're working in a well - ventilated area. You can work outside or in a room with open windows and a fan.
- Protection: Cover the surrounding area with drop cloths to protect it from overspray. You don't want to get adhesive on things you don't intend to.
Applying the Spray Adhesive
Now comes the exciting part - applying the adhesive!
- Shake the can: Before you start, give the spray adhesive can a good shake for about a minute. This ensures that the adhesive is well - mixed.
- Test spray: Do a test spray on a small, inconspicuous area of the curved surface. This helps you get a feel for the spray pattern and the amount of adhesive you need.
- Hold the can at the right distance: Generally, you should hold the can about 6 - 8 inches away from the surface. This allows for an even distribution of the adhesive. Move the can in a steady, sweeping motion across the curved surface. Make sure you cover the entire area evenly, but don't over - spray. Too much adhesive can lead to drips and a messy bond.
Bonding the Materials
Once the adhesive is applied, it's time to bond the materials.
- Timing is key: Different adhesives have different drying times. Some are designed to bond immediately, while others need a bit of time to become tacky. Check the instructions on the can to know when it's the right time to press the materials together.
- Press firmly: When you place the second material on the adhesive - coated surface, press firmly along the curve. Use a roller or your hands to make sure there are no air bubbles trapped between the materials. For larger curved surfaces, you might need to start from one end and work your way to the other.
Using Spray Silicone
If you're looking for a special type of spray for your curved surface projects, you might want to check out Spray Silicone. It offers some unique properties, like a smooth finish and good lubrication, which can be really handy for certain applications.
Finishing Up
After the bonding is done, let the adhesive dry completely according to the manufacturer's instructions. This might take a few hours or even a day, depending on the type of adhesive. Once it's dry, you can trim any excess material and give your project a final inspection.
Troubleshooting
Sometimes, things don't go as planned. Here are some common issues and how to fix them:
- Peeling: If the bond starts to peel, it could be because the surface wasn't clean enough or the adhesive wasn't applied evenly. You may need to clean the surface again and re - apply the adhesive.
- Drips and runs: If you notice drips or runs, it's probably because you over - sprayed. You can try using a clean cloth to soak up the excess adhesive while it's still wet.
Safety Precautions
As with any chemical product, safety comes first.
- Wear protective gear: Put on gloves, goggles, and a respirator to protect your skin, eyes, and lungs from the adhesive and its fumes.
- Keep away from heat and flames: Spray adhesives are flammable, so make sure there are no open flames or heat sources near your workspace.
Conclusion
Using spray adhesive on curved surfaces might seem challenging at first, but with the right preparation, the right product, and the right techniques, you can achieve a strong and lasting bond. Whether you're working on a DIY project at home or a professional job, these tips will help you get the best results.


If you're interested in our spray adhesive products for your curved surface projects, feel free to reach out for a discussion. We're always here to help you choose the perfect adhesive for your needs.
References
- "Spray Adhesive 101" - DIY Magazine, 2022
- "Bonding Techniques for Curved Surfaces" - Industrial Adhesives Journal, 2023
- Manufacturer's instructions of various spray adhesives